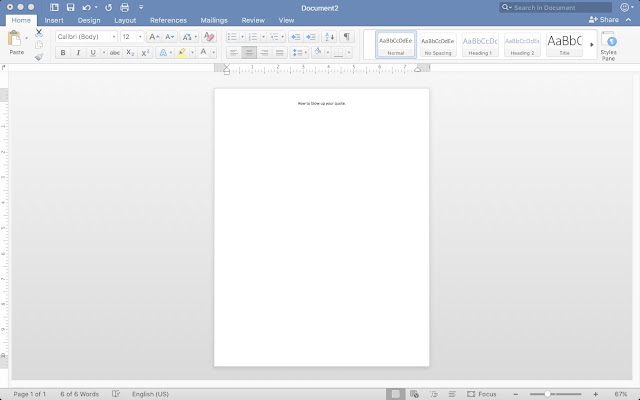
One of my favorite things to do on an empty wall is blow up quotes! I'm here to show you a quick tutorial on how to blow up fonts and making a boring wall have a pop of excitement.
1. I find it the easiest to do this in Microsoft Word. Make sure to open up a new blank document and have your quote ready!
2. Your first step is to go into your Margin settings. From my computer I go to
Layout> Margins> Narrow. This just gives you a little extra room to work with when blowing up your font. After you have your margins set to narrow, then type in your quote.
3. Highlight your entire quote, and center it on the page. Once it is centered, change it into any font that you would like to use. For this tutorial I chose LD What did I say?. To download my Endless Growing Font Bundle click here.
4. Then depending on the font that you pick you will now change the size of the font so that it fits 1 letter on each page. In this tutorial I used the size 650. In other fonts it might be smaller or larger. It also depends on how big you want your quote.
5. I then make sure that that there is one letter to each page. (If you are printing on white paper or all the same color paper, it doesn't matter if all the letters are all on one page. If you are making a rainbow quote you will want one letter on each page.) * You can change the size of 1 letter if it doesn't fit on the page completely. Sometimes I have to make my m and w's smaller than the other letters.
6. You will then change the color of each letter to the color that you want the letter to be. I use the font color button when changing the letter coloring. (The A with the purple color underneath)
If you are printing all on 1 paper color you can skip Step 7 and 8 and head directly to 9. If you are printing on rainbow paper this is going to be the most important part!
7. Move all of the same color letters side by side. If you have some that will fit on the same page, put them together now.
8. If you are printing on Rainbow paper you now need to count out how many pages you need for each color. This is very important! You also need to know your printer, I would have to personally start with purple on top but you might have to start with red on top.
9. Select all of your text and go back up to the text buttons. Click on Text Effects, the white A with the blue outline. I think go Outline> and change the color to black.
10. Now go back and change your font color to white using the font color button.
(A with purple underneath)
10. We will change the outline of the font so that it is easier for you to cut out. This again will depend on the font that you have chosen and the thickness that you desire. Go up to the font buttons and click on the Text effects button. Go to Outline> Dashes> More Dashes. Then change the width of the dash to 10 pts. or the size of your choice.
Just like that you are ready to print. Again know your printer and which color you need on top. If you are printing on white or all one color, you have it easy! I printed at least twice before I got all the letters right!
If you need help please email me and let me know how I can help! I hope this has been easy for you to follow and that it helps you give your classroom a wall popping quote!


hi
ReplyDeletevery good explained